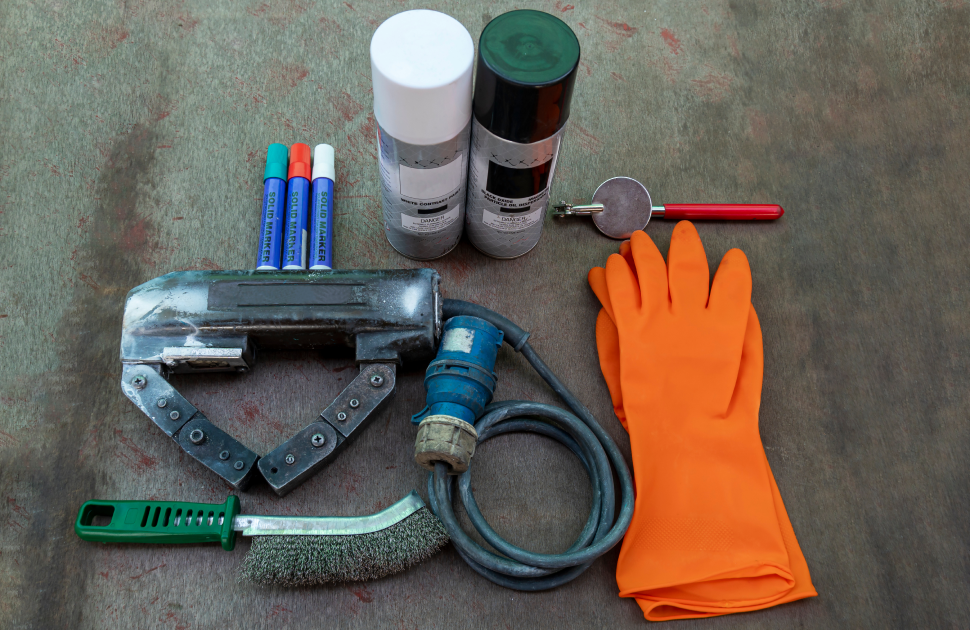
Basic non-destructive testing (NDT) equipment plays a crucial role in ensuring the safety and reliability of various structures and components in a wide range of industries. NDT is a method of evaluating the properties of materials and components without causing damage. It helps to identify defects and anomalies that may compromise the integrity of a structure or component, without having to resort to destructive testing methods.
Basic NDT equipment is a subset of the larger range of NDT equipment available and is commonly used in NDT Inspections. This equipment is considered essential for performing a wide range of NDT methods. Examples of NDT Equipment include ultrasonic thickness gauges and handheld X-ray fluorescence analyzers. Here are a few examples of basic NDT equipment:
Magnetic Particle Inspection Yokes:
Magnetic Particle Inspection yokes are used to create a magnetic field on the surface of a ferromagnetic material, which is used to detect surface and subsurface defects. They work by applying a magnetic field to the material and then applying a magnetic particle suspension to the surface. Any defects in the material will disrupt the magnetic field, causing the particles to collect around the defect and creating a visible indication of its presence. MPI yokes are commonly used in the inspection of pipelines, pressure vessels, and other structures made from ferromagnetic materials.
Ultrasonic Thickness Gauges:
These are handheld devices that use ultrasonic waves to measure the thickness of a material or component. They can be used to detect corrosion, erosion, and other forms of material loss. Ultrasonic Thickness Gauges work by sending high-frequency sound waves into the material and then measuring the time it takes for the sound waves to bounce back. This measurement is used to calculate the thickness of the material. Ultrasonic thickness gauges are commonly used in the inspection of pipes, tanks, and other structures where material loss may be a concern. NDT performed while components or materials are in use can detect service-related conditions caused by wear, fatigue, corrosion, stress, or other factors.
Dye penetrant inspection (DPI) Kit:
DPI kits include a penetrant liquid, developer, and cleaner and are used to detect surface-breaking defects in a wide range of materials. Dye Penetrant Inspection is a simple yet effective method of detecting surface defects, such as cracks and porosity. The process involves applying a penetrant liquid to the surface of the material, which is then allowed to penetrate any surface defects. The surface is then cleaned, and a developer is applied, which draws out the penetrant from any surface defects, making them visible to the naked eye.
Visual Inspection Tools:
These include tools such as borescopes, fiberscopes, and endoscopes, which are used to inspect internal surfaces that are not visible to the naked eye. These tools are commonly used in the inspection of pipes, turbines, and other components that have internal surfaces that cannot be accessed without disassembly. They work by using a flexible or rigid scope with a camera on the end to provide a visual image of the internal surface.
Hardness Tester:
Hardness Testers are used to measure the hardness of a material, which can indicate its strength and durability. They work by applying a known amount of pressure to the material and then measuring the resulting indentation. The size of the indentation can be used to calculate the material's hardness. Hardness testers are commonly used in the inspection of metals and other materials where hardness is a critical factor.
Leak Testing Equipment:
Leak Testing Equipments are used to detect leaks in pressurized systems, such as pipes and tanks. There are a number of different leak testing methods, including pressure decay testing, vacuum testing, and bubble testing. These methods work by applying pressure or vacuum to the system and monitoring for any changes that may indicate a leak.

(1).png)


