Visual NDT
Observing the Metal Flow in Forged Products Using a Digital Microscope
Published on 21st December 2021

What Is Metal Forging?
Metal forging is a molding process where strong pressure is applied to a metallic material using a hammer or a press machine. It is often used for products that require strength, since forged products have higher strength than products created by casting, where melted metal is poured into a mold, and by cutting, where a metal is ground with a cutting tool. Forged products include kitchen knives, as well as gears, valves, connecting rods, and crankshafts that are used in vehicles and industrial machinery.
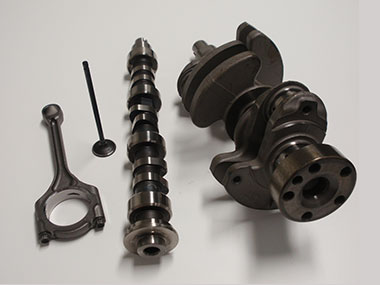
Various forged products used in vehicles
When a force is applied to a metal, its crystal structure gets crushed and adopts a linear shape. This is called a metal flow (or fiber flow). In the forging process, because the line of metal flow is formed following the product's shape, processed materials have high viscosity and resistance to external impacts.
Challenges of Observing Metal Flow Using a Conventional Microscope
During quality control, inspectors check the metal flow of forged products. The flow must be correct to ensure that the product meets strength requirements. The metal flow is typically observed through a microscope. To observe a wide area, however, you must either use a low magnification microscope or stitch several high-magnification images together. These methods introduce two major problems:
1) The metal flow’s form is not clearly visible at low magnification due to the lens’ low resolution
2) In many cases, stitched images may not be of a high enough quality due to misalignment or uneven colors caused by conventional stitching software

Pasted image with uneven color
Benefits of Observing Metal Flow Using the DSX1000 Digital Microscope
1) Clearly view the entire forged product at low magnification
When observing a large sample like a forged product, the user first views the entire sample at low magnification to pinpoint the observation position. Our DSX1000 digital microscope is equipped with a dedicated low-magnification, long-working distance objective lens so you can quickly determine the observation area on a clear image.
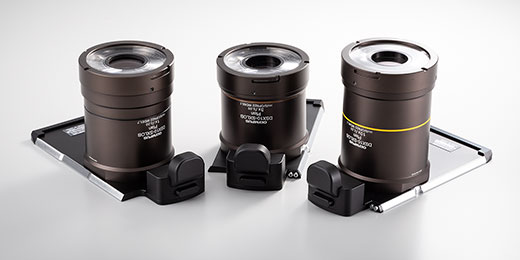
SXLOB low-magnification, long-working distance objectives
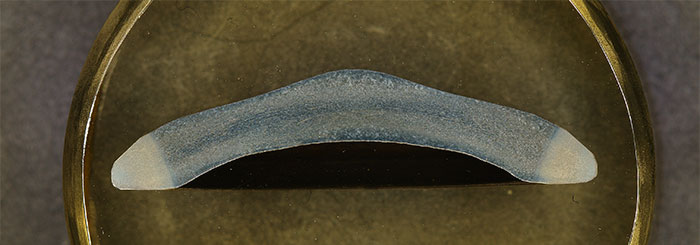
View the entire forged product with a low-magnification objective lens (1X)
2) Create a fully focused image of a forged part with the auto-stitching function
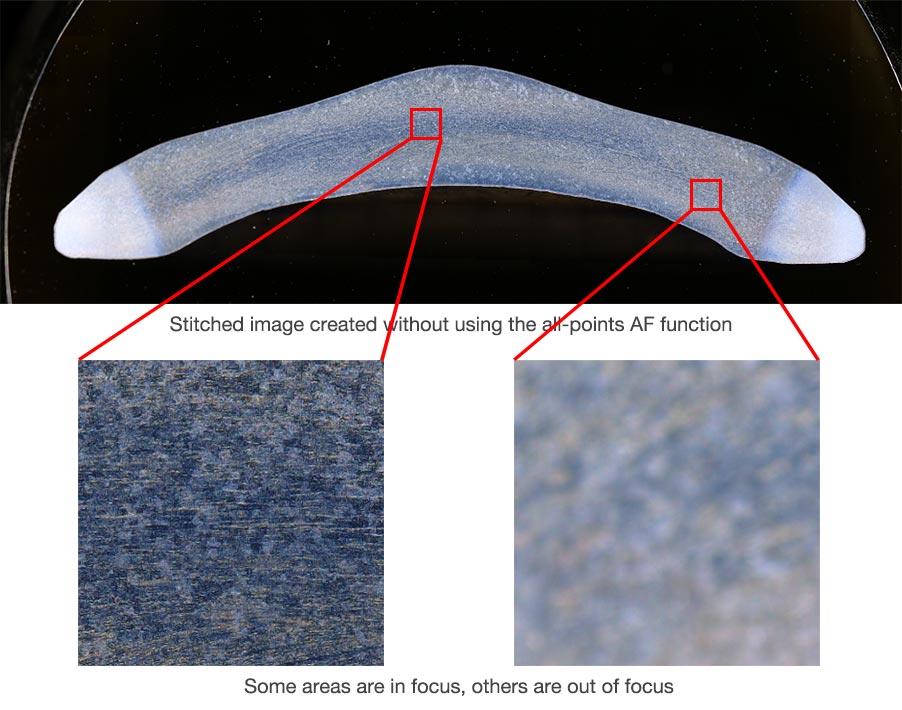
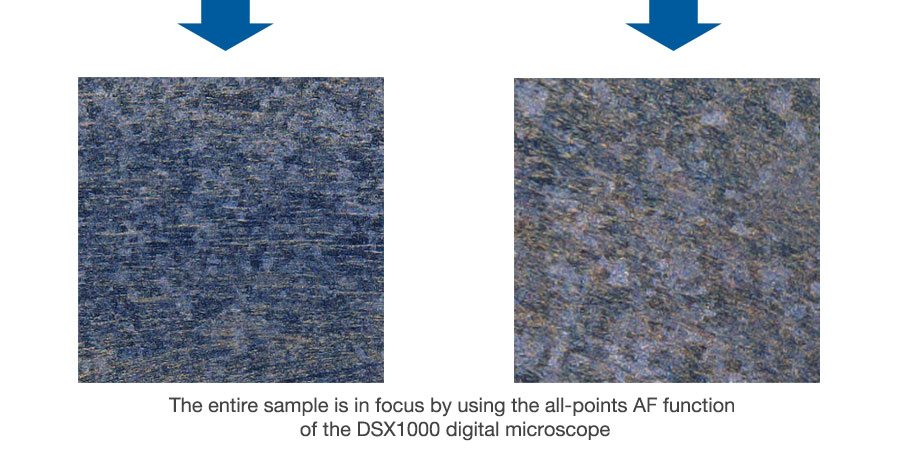
When observing an edged, resin-embedded sample, you may get an image with blur spots at a distance. This can be caused by the difficulty of finding a flat area and the shallow depth of field at high magnification. The same is true for a stitched image where there are often different areas in and out of focus.
Using the DSX1000 digital microscope, you can create a stitched image from several images, all taken in focus, by clicking the all-points AF icon in the software. The microscope automatically takes images once you input the number of images, length, and starting and ending points of the images for stitching. High-precision pattern matching and shading enables high-quality stitched images.

The clear magnified image captured with the DSX1000 microscope makes it easier to check the metal flow. See the difference in the images below:
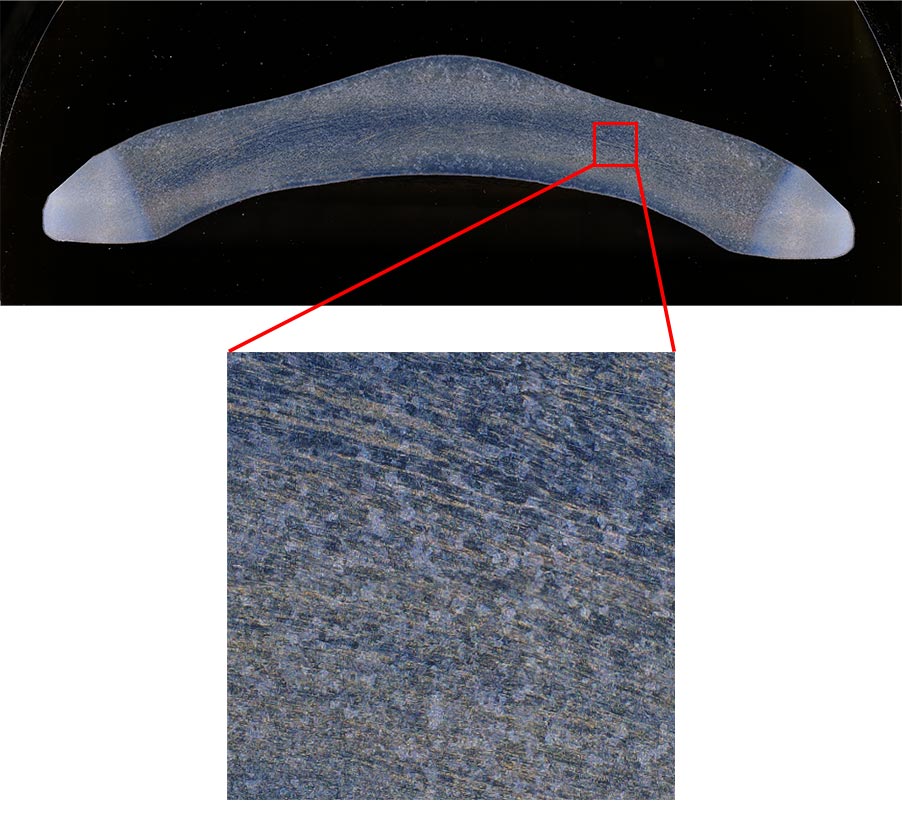
An auto-pasted image of a forged part made from several high-magnification images captured by the DSX1000 digital microscope (140X, 6 images vertically, 17 images horizontally). The image quality is maintained if you cut and magnify a part of it.
Products used for this application
Better images and results. DSX1000 digital microscopes enable faster failure analysis with accuracy and repeatability.


