Introduction
Producing a sharp, code-compliant radiograph is only half the job—the other half is knowing what you’re looking at. Radiographic interpretation of welds happens in three steps: Detection, Interpretation, and Evaluation. Each of these relies heavily on the radiographer’s visual acuity, appropriate viewing conditions (lighting, background, viewing distance), and practical experience recognising weld features and discontinuities.
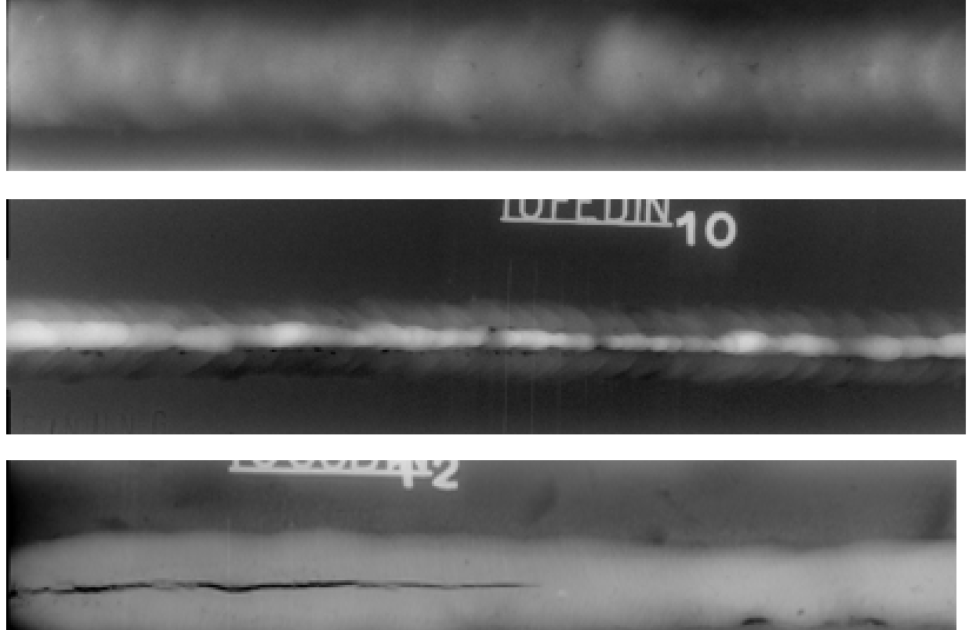
This article discusses the essentials of weld radiograph interpretation, shows how common discontinuities present on film or DDA images, and offers a quick-reference table you can keep beside your viewer.
The Three Steps of Radiographic Interpretation
- Detection – Spotting any indication that departs from the expected image of sound material.
- Interpretation – Assigning a likely type (e.g., porosity vs. slag inclusion) to the indication based on shape, location, and tone.
- Evaluation – Judging acceptability against the applicable code, standard, or specification (e.g., ASME, ISO). Indications that do not meet acceptance criteria become defects.
Let’s look at the difference between a discontinuity and a defect.
Discontinuities vs. Defects
A discontinuity is any interruption in the normal structure of the material, whether in the base metal, weld metal, or heat-affected zone (HAZ). Only when a discontinuity fails the code/spec limits does it become a defect.
General Welding Discontinuities
Below are the most frequently encountered indications and how they typically appear radiographically.
Cold Lap
Poor fusion between weld metal and base metal (or between passes). The puddle “washes” over unmelted base metal. On the radiograph, it presents as dark linear areas along the fusion boundary.
Porosity (including Wormhole Porosity & Cluster Porosity)
Gas trapped during solidification. Appears as dark, round or irregular spots, single, clustered, or in rows. Wormhole porosity may look elongated with a “tail,” showing gas movement during solidification. Cluster porosity is often tied to moisture-contaminated flux-coated electrodes and appears as closely grouped pores.
Slag Inclusions
Nonmetallic solids trapped in weld metal or at interfaces. Radiographically: dark, jagged, asymmetrical shapes along the weld or joint line.
Incomplete (Lack of) Penetration (IP/LOP)
Weld metal fails to reach the root. Shows as a dark, straight, well-defined indication along the weld centerline. Highly objectionable due to crack initiation risk.
Incomplete Fusion
Weld metal does not properly fuse with base metal. Usually appears as dark lines parallel to the weld seam, commonly located along the joint preparation surfaces.
Internal Concavity (Suck Back)
Root metal contracts on cooling and is “pulled” into the weld. Looks similar to LOP, but typically wider with irregular edges.
Internal (Root) Undercut
Erosion next to the root. Appears as a dark, irregular line offset from the weld centerline, less straight than LOP because it doesn’t follow a machined land.
External (Crown) Undercut
Erosion next to the weld crown. Seen as a dark, irregular line along the outside edge of the weld.
Offset / Mismatch
Improper joint alignment. Produces a density step between pieces due to thickness variation, often accompanied by a straight, dark line where fusion failed at the land.
Inadequate Weld Reinforcement
This occurs when there is less weld thickness than the base metal. Shows as a darker (higher density) area in the weld crown region compared to the adjacent parent material.
Excess Weld Reinforcement
This occurs when there is too much weld metal. Appears as a lighter (lower density) localised area in the weld crown. A quick visual inspection often confirms it.
Cracks
Only reliably detected when oriented to produce a change in thickness parallel to the X-ray beam. They appear as jagged, often faint lines and may look like “tails” on porosity or inclusions.
Now let’s move on to some discontinuities specific to Gas Tungsten Arc Welding (GTAW).
Discontinuities Specific to TIG (GTAW)
TIG typically produces very clean, homogeneous welds, which makes interpretation straightforward, yet a couple of process-specific discontinuities stand out.
Tungsten Inclusions
Dense, brittle tungsten can break off the electrode and get trapped. Because tungsten is denser than aluminum or steel, it appears lighter with a sharp outline on the radiograph.
Oxide Inclusions
Common on materials like aluminum. These are less dense than the parent metal and thus appear as dark, irregularly shaped areas.
Discontinuities Common in GMAW (MIG/MAG)
Whiskers
Short pieces of electrode wire visible on the surface or trapped in the weld. Radiographically, these are light, wire-like indications.
Burn-Through (with Icicles)
Excess heat creates excessive penetration; blobs of metal can sag through, forming icicles. On film, burn-through appears as dark spots often surrounded by lighter globular areas.
Quick Reference: How It Looks on the Radiograph


Getting the Viewing Right
Because visual acuity and viewing conditions directly affect detection capability, ensure:
- Proper film illuminance and masking to avoid flare.
- Dark adaptation when reading very low-density regions.
- Consistent viewing geometry (distance and angle).
These basics materially improve first-pass detection rates. Once an indication is identified and named, evaluate it against the governing code or project specification.
Keep in mind:
- Dimensioning (length, width, height/thickness loss) and distribution (isolated vs. clustered) often control acceptability.
- Some discontinuities (e.g., cracks, LOP) are typically more critical than others (e.g., small isolated pores).
Conclusion
Radiographic interpretation is a skill that sharpens with systematic practice, meticulous viewing discipline, and a solid mental library of what each discontinuity looks like. Keep this guide beside your viewer, and continuously cross-check with the applicable codes to make confident, defensible calls.
Author: Jefy Anuja Gladis


