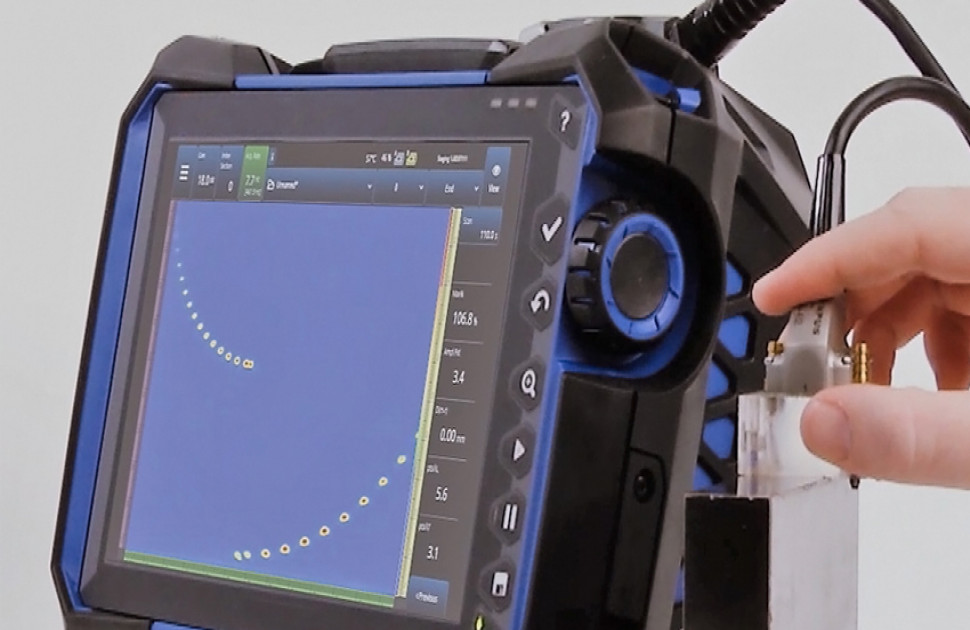
Basic Ultrasonic Testing Principles Still Apply
To start, it is important to remember that the total focusing method (TFM) is subject to the same physical laws that govern conventional ultrasonic testing (UT) and phased array. Electronic focusing with phased array is the ability to converge the multiple wave fronts of the individual probe elements in a small area, which is called the focal point. Such convergence is only possible inside the near field of the phased array probe.
The end of the near field corresponds to the last maximum of the pressure field along the propagation axis of an unfocused ultrasonic beam. It is defined by the probe parameters, such as element size and frequency, as well as the velocity of sound in the material. In phased array, the near field is the zone where focusing can happen. Outside this range, the inspection is considered unfocused, and the beam amplitude and resolution will degrade with the sound path just like with conventional UT. With TFM, the same focusing and near field limits apply—meaning, with regard to the near field, what is true for phased array ultrasonic testing (PAUT), is also true for TFM.
Probe Characteristic Considerations and the Focusing Capability Trade-Offs
A probe’s frequency, element size, and number of elements are some of the factors that have an impact on the setup and the quality of the inspection. For example, since the near-field length is directly proportional to the probe frequency and aperture size, a probe with a higher frequency and a larger active aperture is capable of focusing farther away from the probe face, thereby providing a larger focused region and improved TFM imaging. On the other hand, the near-surface resolution is negatively impacted.
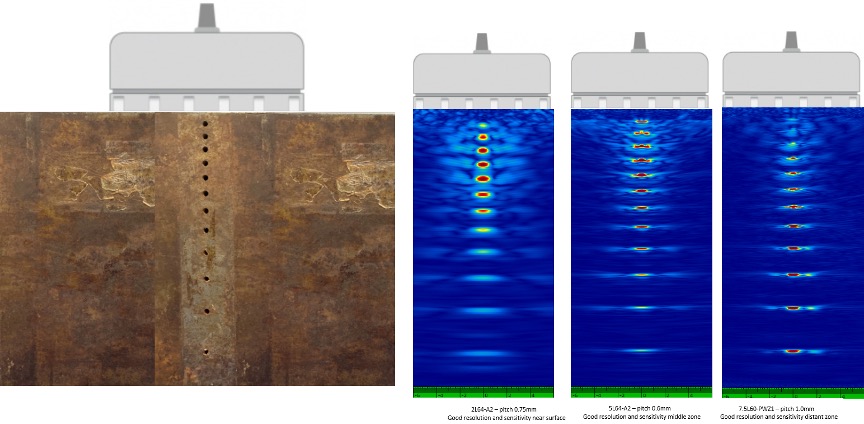
Figure 1: A probe’s frequency, element size, and number of elements are some of the factors that have an impact on the setup and the quality of the inspection
Relying on experimental testing to determine the ideal probe for TFM setups is impractical due to all the variables and expense involved. This underlines why a modeling tool is essential for your TFM inspection configuration.
The Necessity of Modeling Tools for Selecting Probes for TFM Inspection
The modeling tools on some flaw detectors help the technician predict the quality of the resulting TFM signal. It displays the expected ultrasonic response provided by a given probe and wedge combination for a particular reflector using a selected wave set. The modeling tool provides images and, in this case, a “sensitivity index” number. In this way, it can help determine the right choices, including the appropriate probe and wedge, for your setup.
If you think of modeling tools as a heat map showing where the amplitude response is the strongest, the sensitivity index is like the maximum temperature. There is no hard limit on how “hot” it can get, but the hotter the better. By comparing the predicted sensitivity index of the model generated for a given set of parameters (the selected probe, wedge, reflector shape and angle, and wave set, for example) to another generated model, you’ll have a good idea of which configuration will perform best for your inspection needs.
An Example of the Impact of the Probe Pitch on the Sensitivity for TFM
The following screenshots are simulations where the probe frequency (5 MHz), as well as other settings, are the same. The element sizes (pitch) are the only changes being made. In this example, when the size of the element is increased on the active axis, the sensitivity index also increases.
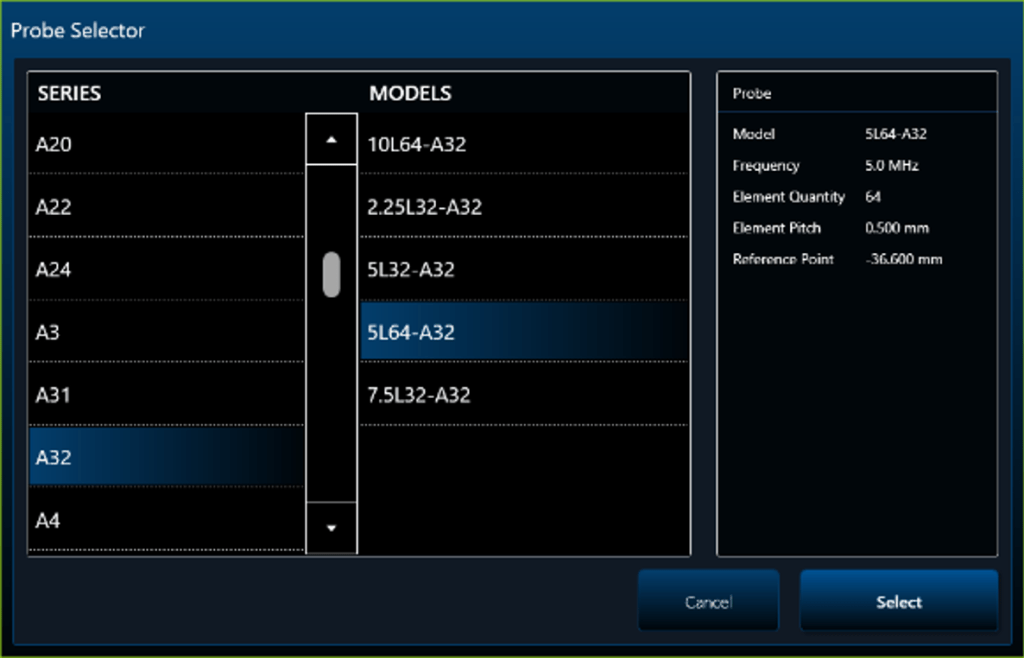
Figure 2a. 5L64-A32 probe model: 32 × 10 mm total active aperture, 0.5 mm pitch, 10 mm elevation, TT pulse-echo wave set.
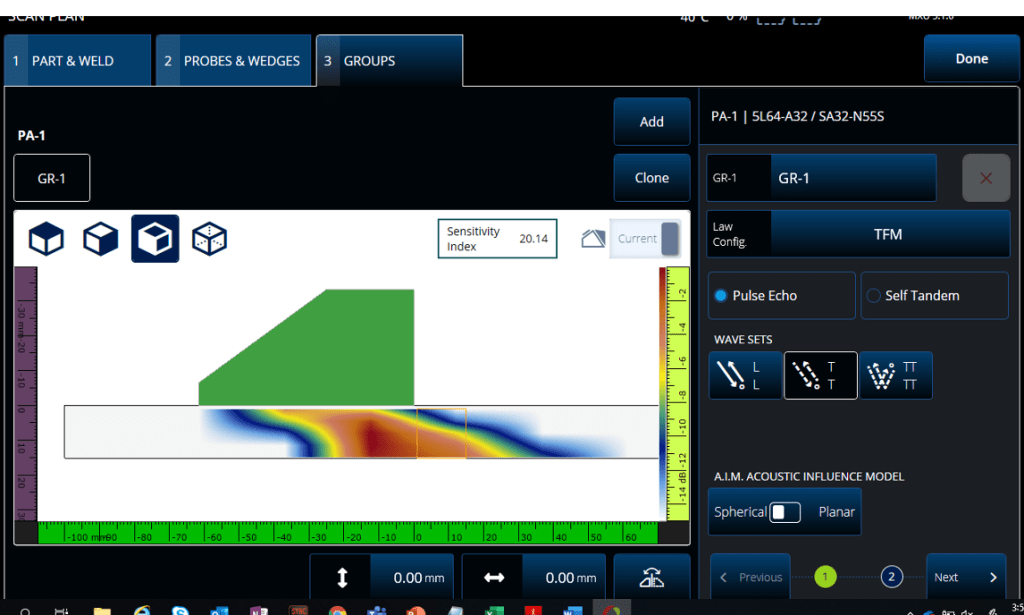
Figure 2b. Sensitivity Index: 20.14.
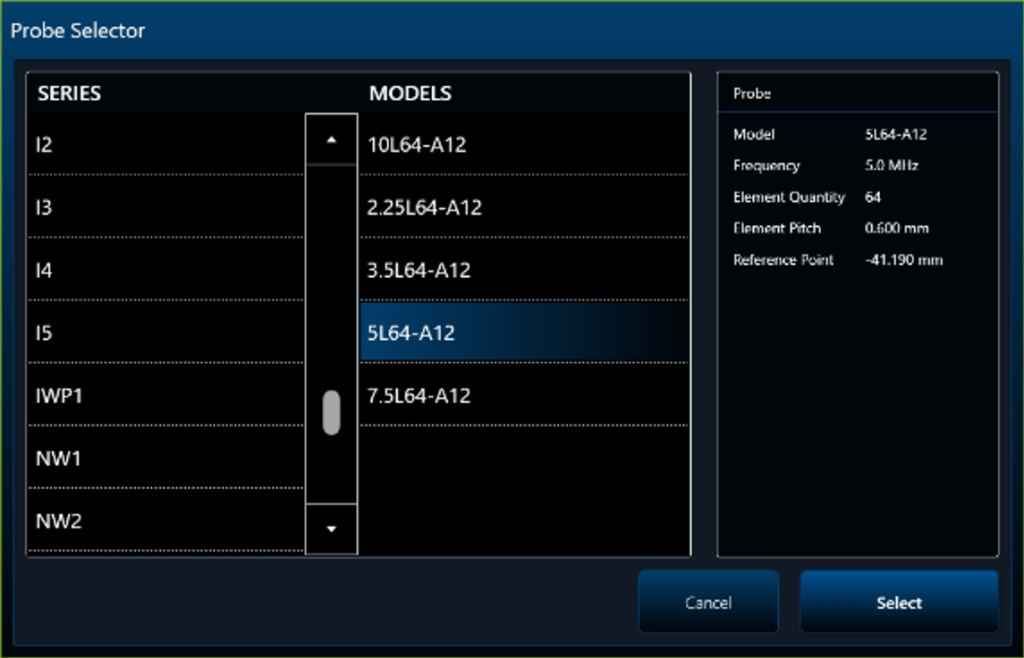
Figure 3a. 5L64-A12 probe model: 38.4 × 10 mm total active aperture, 0.60 mm pitch, 10 mm elevation, TT pulse-echo wave set.
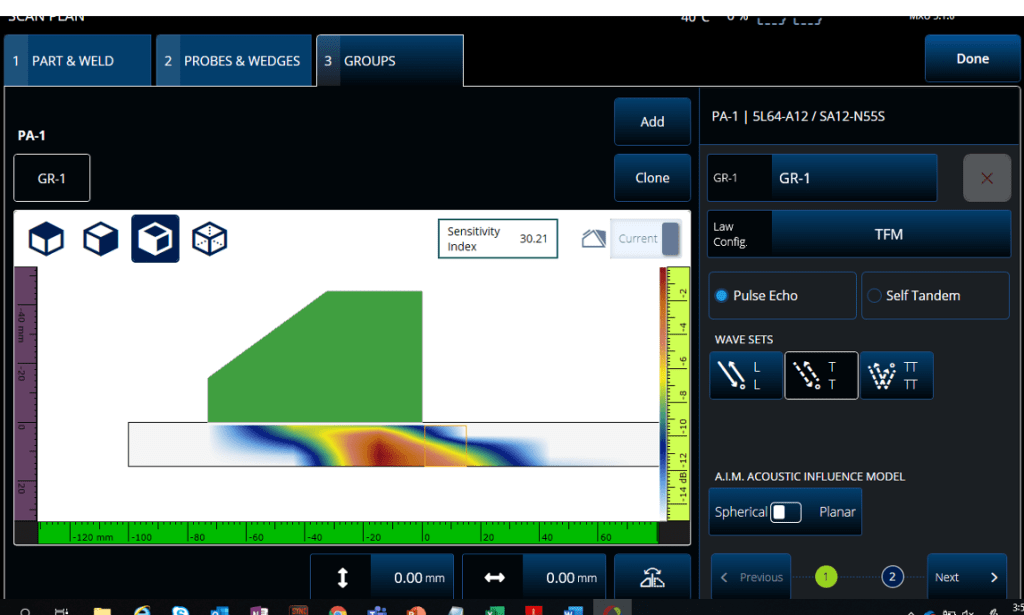
Figure 3b. Sensitivity Index: 30.21.
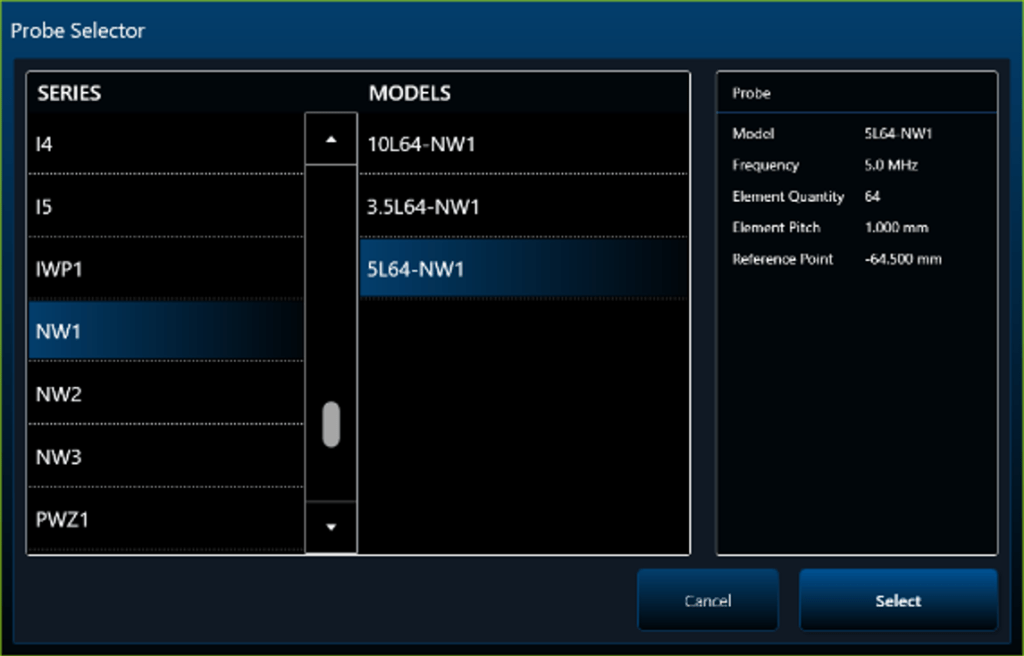
Figure 4a. 5L64-NW1 probe model: 64 × 7 mm total active aperture, 1.00 mm pitch, 7 mm elevation, TT pulse-echo wave set.
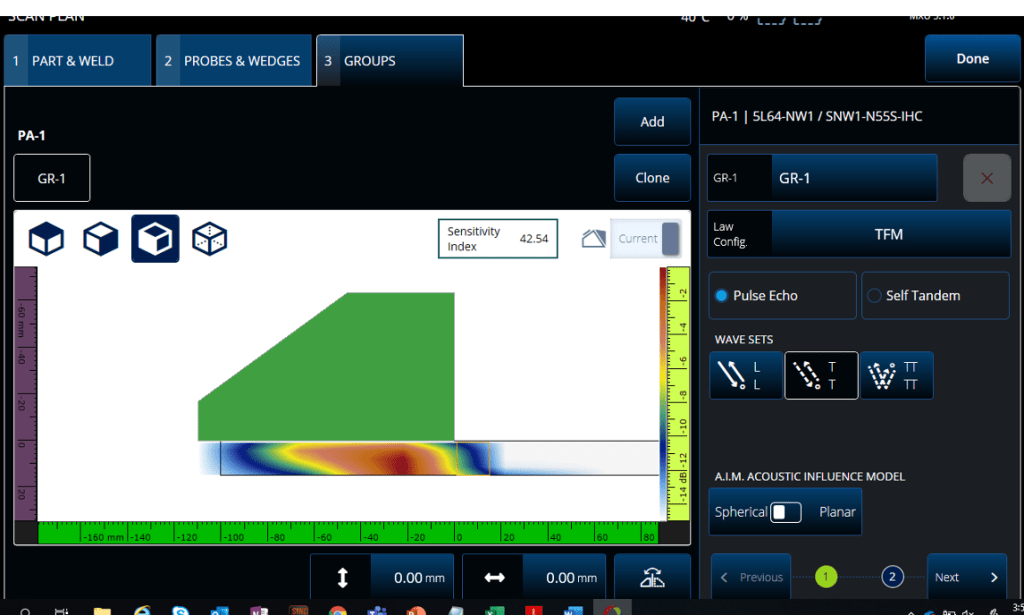
Figure 4b. Sensitivity Index: 42.54.
An Example of the Impact of Probe Frequency on the Sensitivity and Coverage
Probe frequency also has an impact on the simulation, and ultimately the TFM inspection. The higher the probe frequency, the farther away the transition from near field to far field. Notice in the examples below that the sensitivity index value is higher with the higher frequency probe. The simulation coloring is more consistent throughout the full skip, meaning less variation in the amplitude, and therefore indication size, with the increasing sound path.
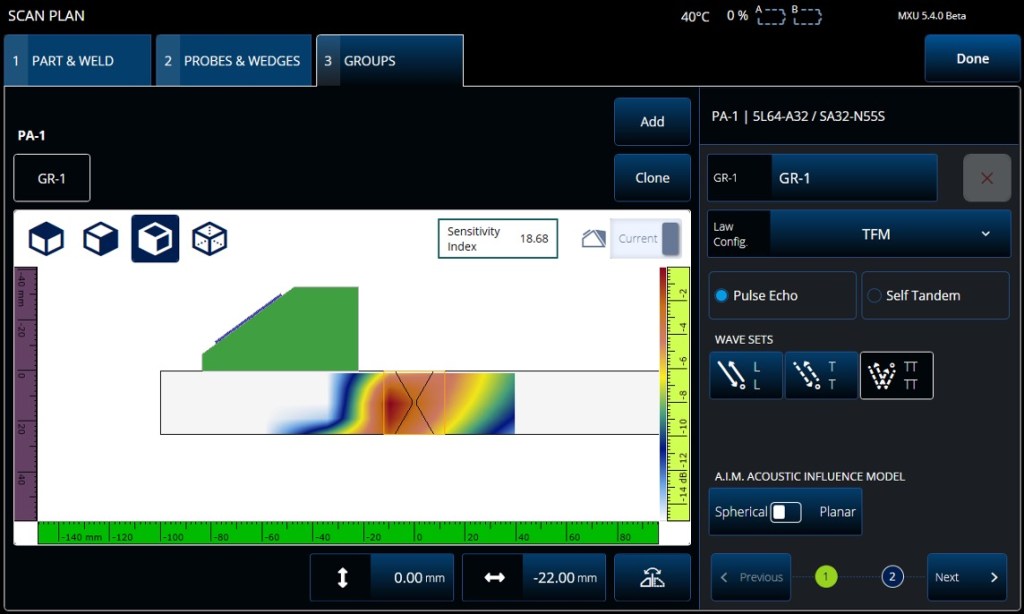
Figure 5. 5L64-A32 probe model: 5 MHz frequency, 32 × 10 mm total active aperture, 0.5 mm pitch, 10 mm elevation, TT-TT wave set.
Sensitivity Index: 18.68.
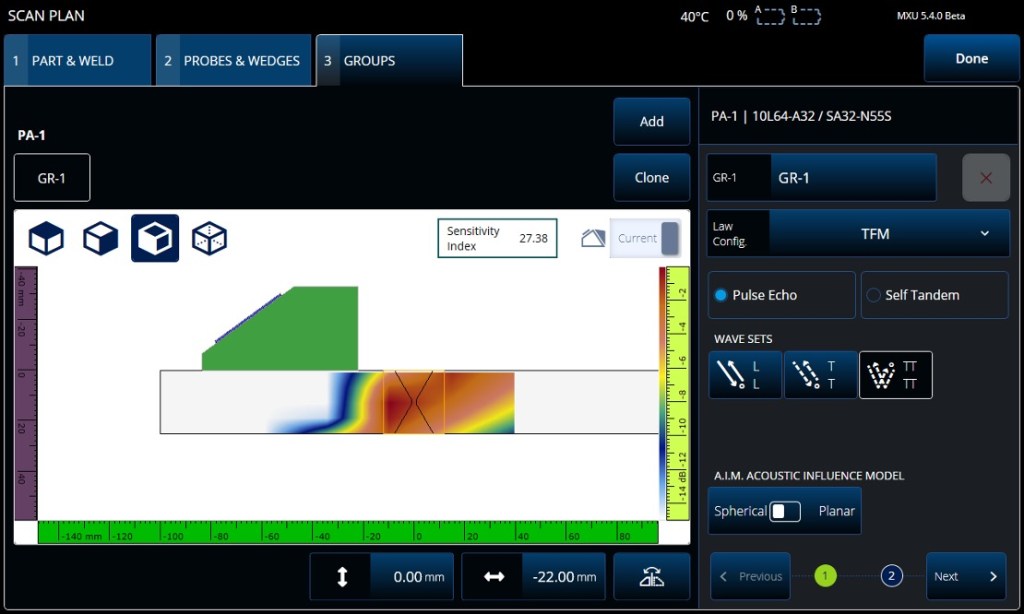
Figure 6. 10L64-A32 probe model: 10 MHz frequency, 32 × 10 mm total active aperture, 0.5 mm pitch, 10 mm elevation, TT-TT wave set.
Sensitivity Index: 27.38.
There are many aspects to creating a solid exam strategy. For FMC, having an optimized probe and the ability to visualize its performance are key. Modeling and simulation are easy to use and powerful tools, helping ensure our success without the time and expense of trial and error.
