Ultrasonic NDT
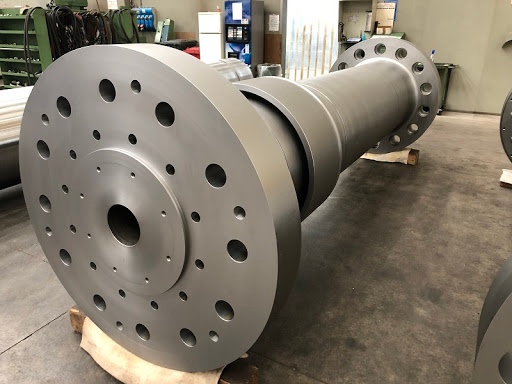
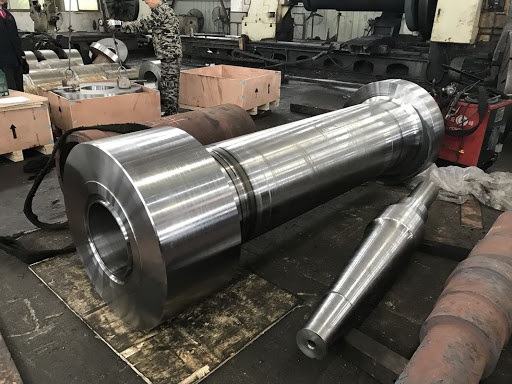
Identify and Characterize Defects in Forged Components like Gas Turbine Rotors
Published on 26th November 2021

Ultrasound Inspection Overview
This application note shows the method and tools for research, identification and classification of the defects in a gas turbine rotor according to the following norms and quality documents:
- DIN EN 10228-3
- EN ISO 9712
- Internal Quality procedure of the final client
The forged disk shall be 100% ultrasonically tested according with the EN 10228-3.
Item Condition:
- Roughness of the surfaces must not exceed 12.5 µm Ra
- Surface cleaned and free from dirt, grease, paint, etc

Identification and classification of the defect
DGS or DAC shall be used for setting sensibility. Calibration shall be done on a test block on same material and heat treatment of the controlled item, as stated in paragraph 7.4 of EN 10228-3.
According to the table reported in the norm, the technician should be able to identify isolated discontinuities and grouped discontinuities.
The micro-structure of the material as well the thickness can have impact on the ultrasound inspection, having a good signal- to- noise rate is important to identify grouped discontinuities as well isolated discontinuities.

UT8000 DGS Solution
DGS or DAC curve can be used to identify and characterize the defects in forged components like gas turbine rotors.
With the Proceq UT8000 you have the possibility to record the A Scan pick of the defects and export the images/video directly on the report. Thanks to his 400 V square pulse you have the possibility to work with a lower noise level that allow the technician to identify and classify, more easily, the extended or grouped discontinuities defect. With his great signal- to- noise rate, UT8000 is making it easier to identify the defect.
Preliminary Report can be uploaded directly on the cloud to be shared with the 3rd level expert for final approval.
Probes to be used:
- B2S EN, Angle 0° , 2MHz ,ø 24 mm
- SEB2-E 57467, Angle 0° , 2MHz ,ø 24 mm
- MWB45,60,70 2MHz
Learn more about ultrasound inspections with the UT8000 on our Inspection Space.


