Eddy Current NDT
Automated Surface Inspection Using Eddy Current Array Technology
Published on 15th May 2021

Introduction
Inspecting the surface of long bars and tubes has been a requirement in the metal manufacturing industry for many years. Material quality and performance requirements are continuously evolving with respect to the various types, orientations, and sizes of surface indications. While different technologies can be used to detect surface defects, eddy current array (ECA) stands out due to its ability to adapt to various geometries and deviations on both ferromagnetic and nonferromagnetic products.
Challenges
The tube and bar manufacturing process can disrupt the optimal product parameters by causing variations in the geometry (ovality, hooks, and bending) and surface conditions (pits, scale, and burrs). The part’s condition has a significant impact on the quality of the inspection. Therefore, the probe’s ability to maintain an optimal position during inspection while adapting to the part’s condition is critical.
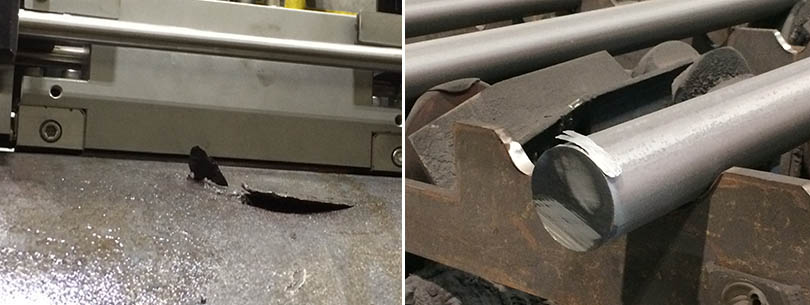
Example of the rough surface condition found on many production bars
Solution
Olympus’ ECA probe technology uses printed circuit boards (PCBs), enabling an increase in the lift-off distance while improving the inspection performance. This improvement enabled us to integrate a hard-ceramic face to the probe assembly to shield it from the tube or bar’s rough surface.
The probe’s technology and design enable the detection of longitudinal- and transverse-orientated flaws. Specific probe designs can detect flaws in any 360-degree orientation.
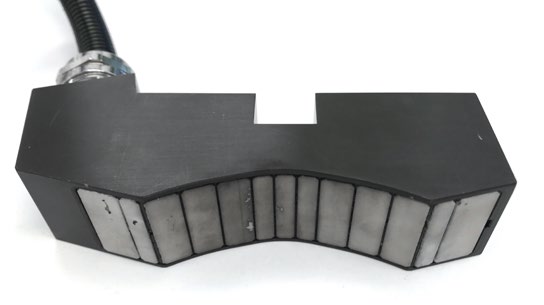
ECA probe with a ceramic face for in-line tube or bar inspection
Olympus ECA smart probes have embedded monitoring and live integrity validation features. They are accessible via the acquisition unit software interface and enable users to get detailed health information and live status updates about the most critical components of the inspection systems. In a turnkey solution, these features can be used to evaluate the probe’s scan-to-scan detection integrity to set or raise alarms that warn of out-of-tolerance conditions during an inspection or to facilitate diagnostics.
Results
Depending on the application, the probe, wedge, and shoe are specifically designed to fit the part being inspected to improve the assembly’s durability.
To test the design, we mounted a probe to a complete mechanical assembly that mimicked the normal operating conditions for in-line tube and bar inspection.
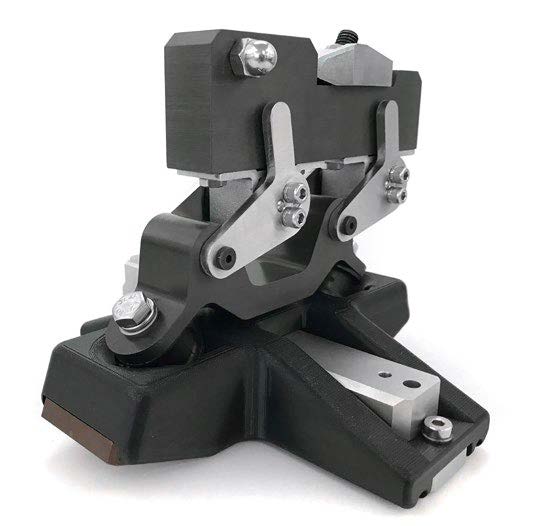
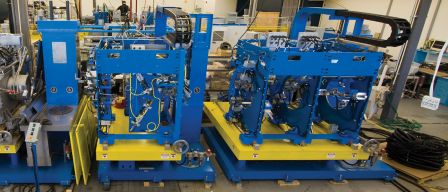
Example of a mechanical assembly
Over 3000 km (1864 miles) of long metal parts were inspected at various speeds of up to 2 meters/second. Only minor damage, mostly scratches, could be seen on the probe’s ceramic face. No performance variation or degradation were measured when comparing inspection results from before and after the test.
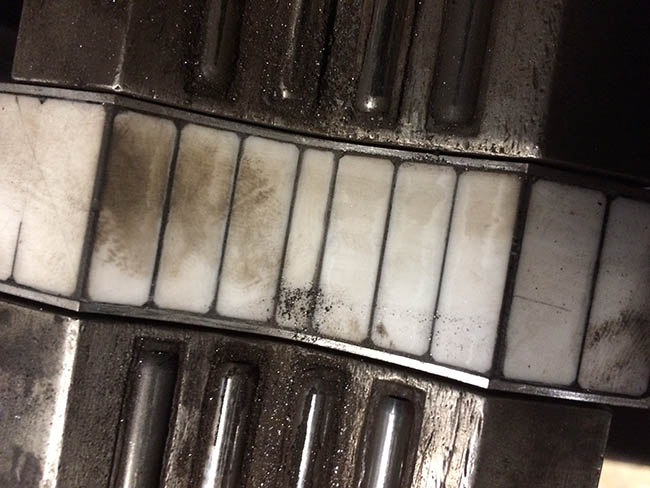
Ceramic face of an ECA probe showing minor abrasions post testing
Conclusion
This next-generation ECA probe’s rugged design offers durability and versatility for manufacturing inspection applications.
The use of eddy current array brings many advantages to surface inspection, including:
- The ability to inspect ferromagnetic and nonferromagnetic products (no product magnetization required)
- Longitudinal- and transverse-oriented flaws with extended capabilities up to 360 degrees
- Enhanced detection and speed capabilities
- Extremely durable with a long useful life
- Products used for this application
Products used for this application
BIS ECA: Bar Inspection System—Eddy Current Array
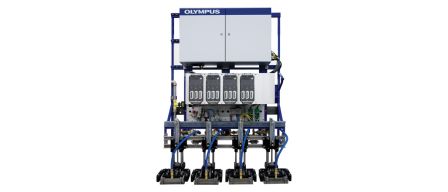
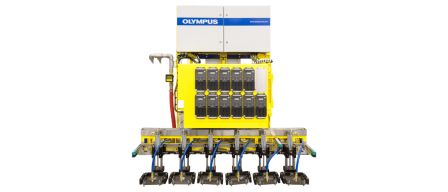
This BIS uses eddy current array (ECA) technology to inspect the full surface of round and square bars. The system uses a wear shoe that constantly optimizes the position of the ECA probes, independent of variations in the straightness of the bars.
RBIS: Rotating Bar Inspection System
The RBIS combines phased array and eddy current array technologies to inspect the full volume and surface of large round bars; called billet. The inspection is carried out during the rotation of the billet and the linear movement of the carriage supporting inspection head.
RTIS: Rotating Tube Inspection System
The RTIS uses phased array technology to inspect the full body of tubes. The system is based on the “Water Wedge” concept using a membrane to maintain a permanent and stable water chamber providing a fast coupling and short untested length.
