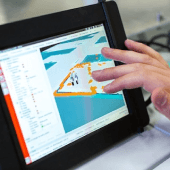
DEFECTOVISION IR makes defects on the material surface visible to the eye and provides information on the size and depth of defects via thermal images. This minimizes expensive reworking of the test parts. The testing method of inductive thermography covers nearly 100% of the material surface and works without contact.
In testing with DEFECTOVISION IR, the part to be tested goes through an induction coil and is heated on the surface at the same time. Four infrared cameras detect the resulting temperature distribution of the material. At exposed defects, a local temperature increase occurs with an amplitude that depends on the size of the material defect. The digital data is evaluated by the test electronics, which determines the precise position and category of the defects fully automatically.
Since the measured temperature distribution of the material surface also depends on its condition, the test part is slightly wet with water before heating. This guarantees a high uniformity and an increase in the emission degree that is important for the temperature measurement, and it ensures reproducible test results.
With the newly developed and patented evaluation principle from FOERSTER, each surface point is scanned several times. This makes it possible to decide finally whether the test signal indicates a real material defect or whether it is an error.


